Setting up your Brighthive Account
Last updated: July 28, 2026
New members must be invited to a Brighthive workspace by that workspace’s administrator. Once your workspace Admin has added your email, you should receive a welcome email with your instructions for logging in.
The email will come from a no-reply email address with the subject line “Welcome to Brighthive!”. If you do not see this email in your inbox, check your spam filters or ask your workspace admin to resend the invite.
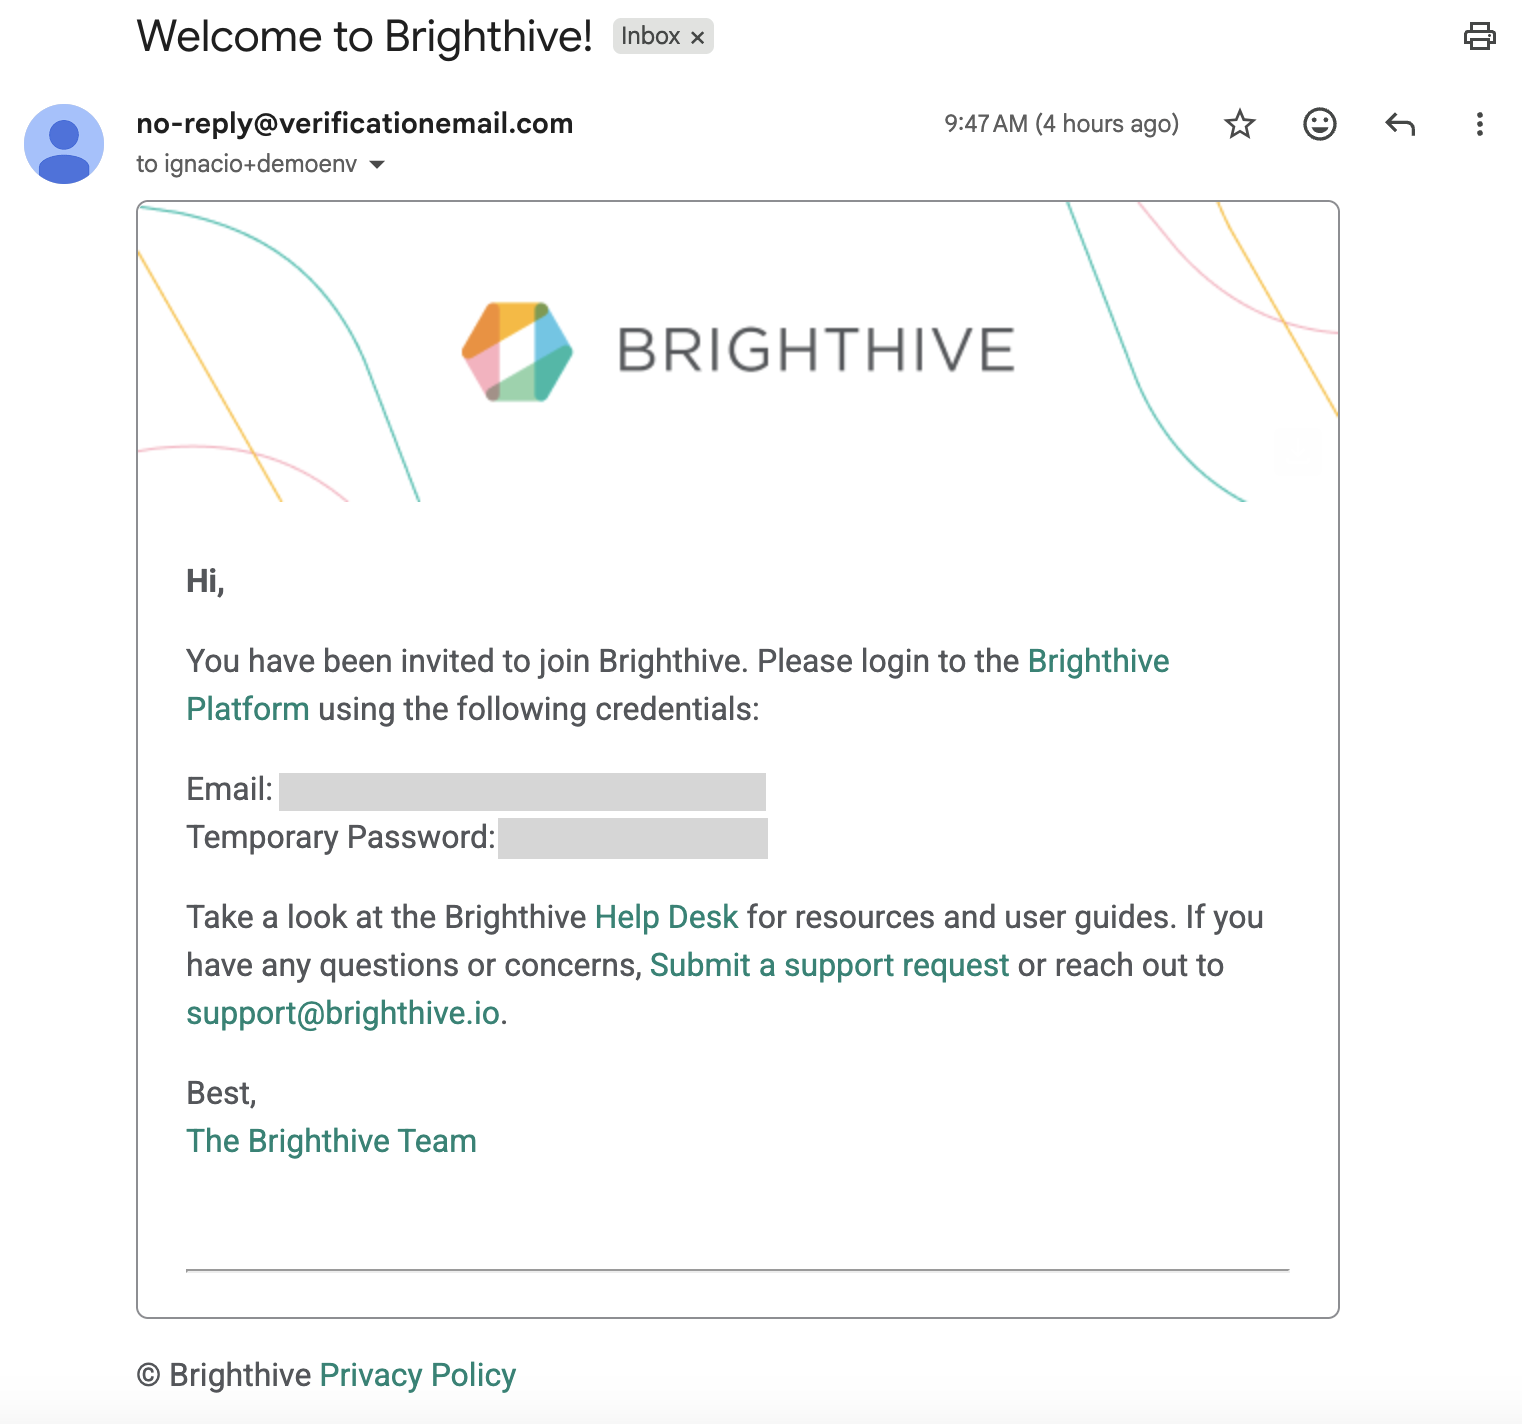
Once you’ve received the welcome email with your temporary password, proceed with the following steps:
Click the link to the Brighthive Platform and you will see a window to Create a Brighthive Account.
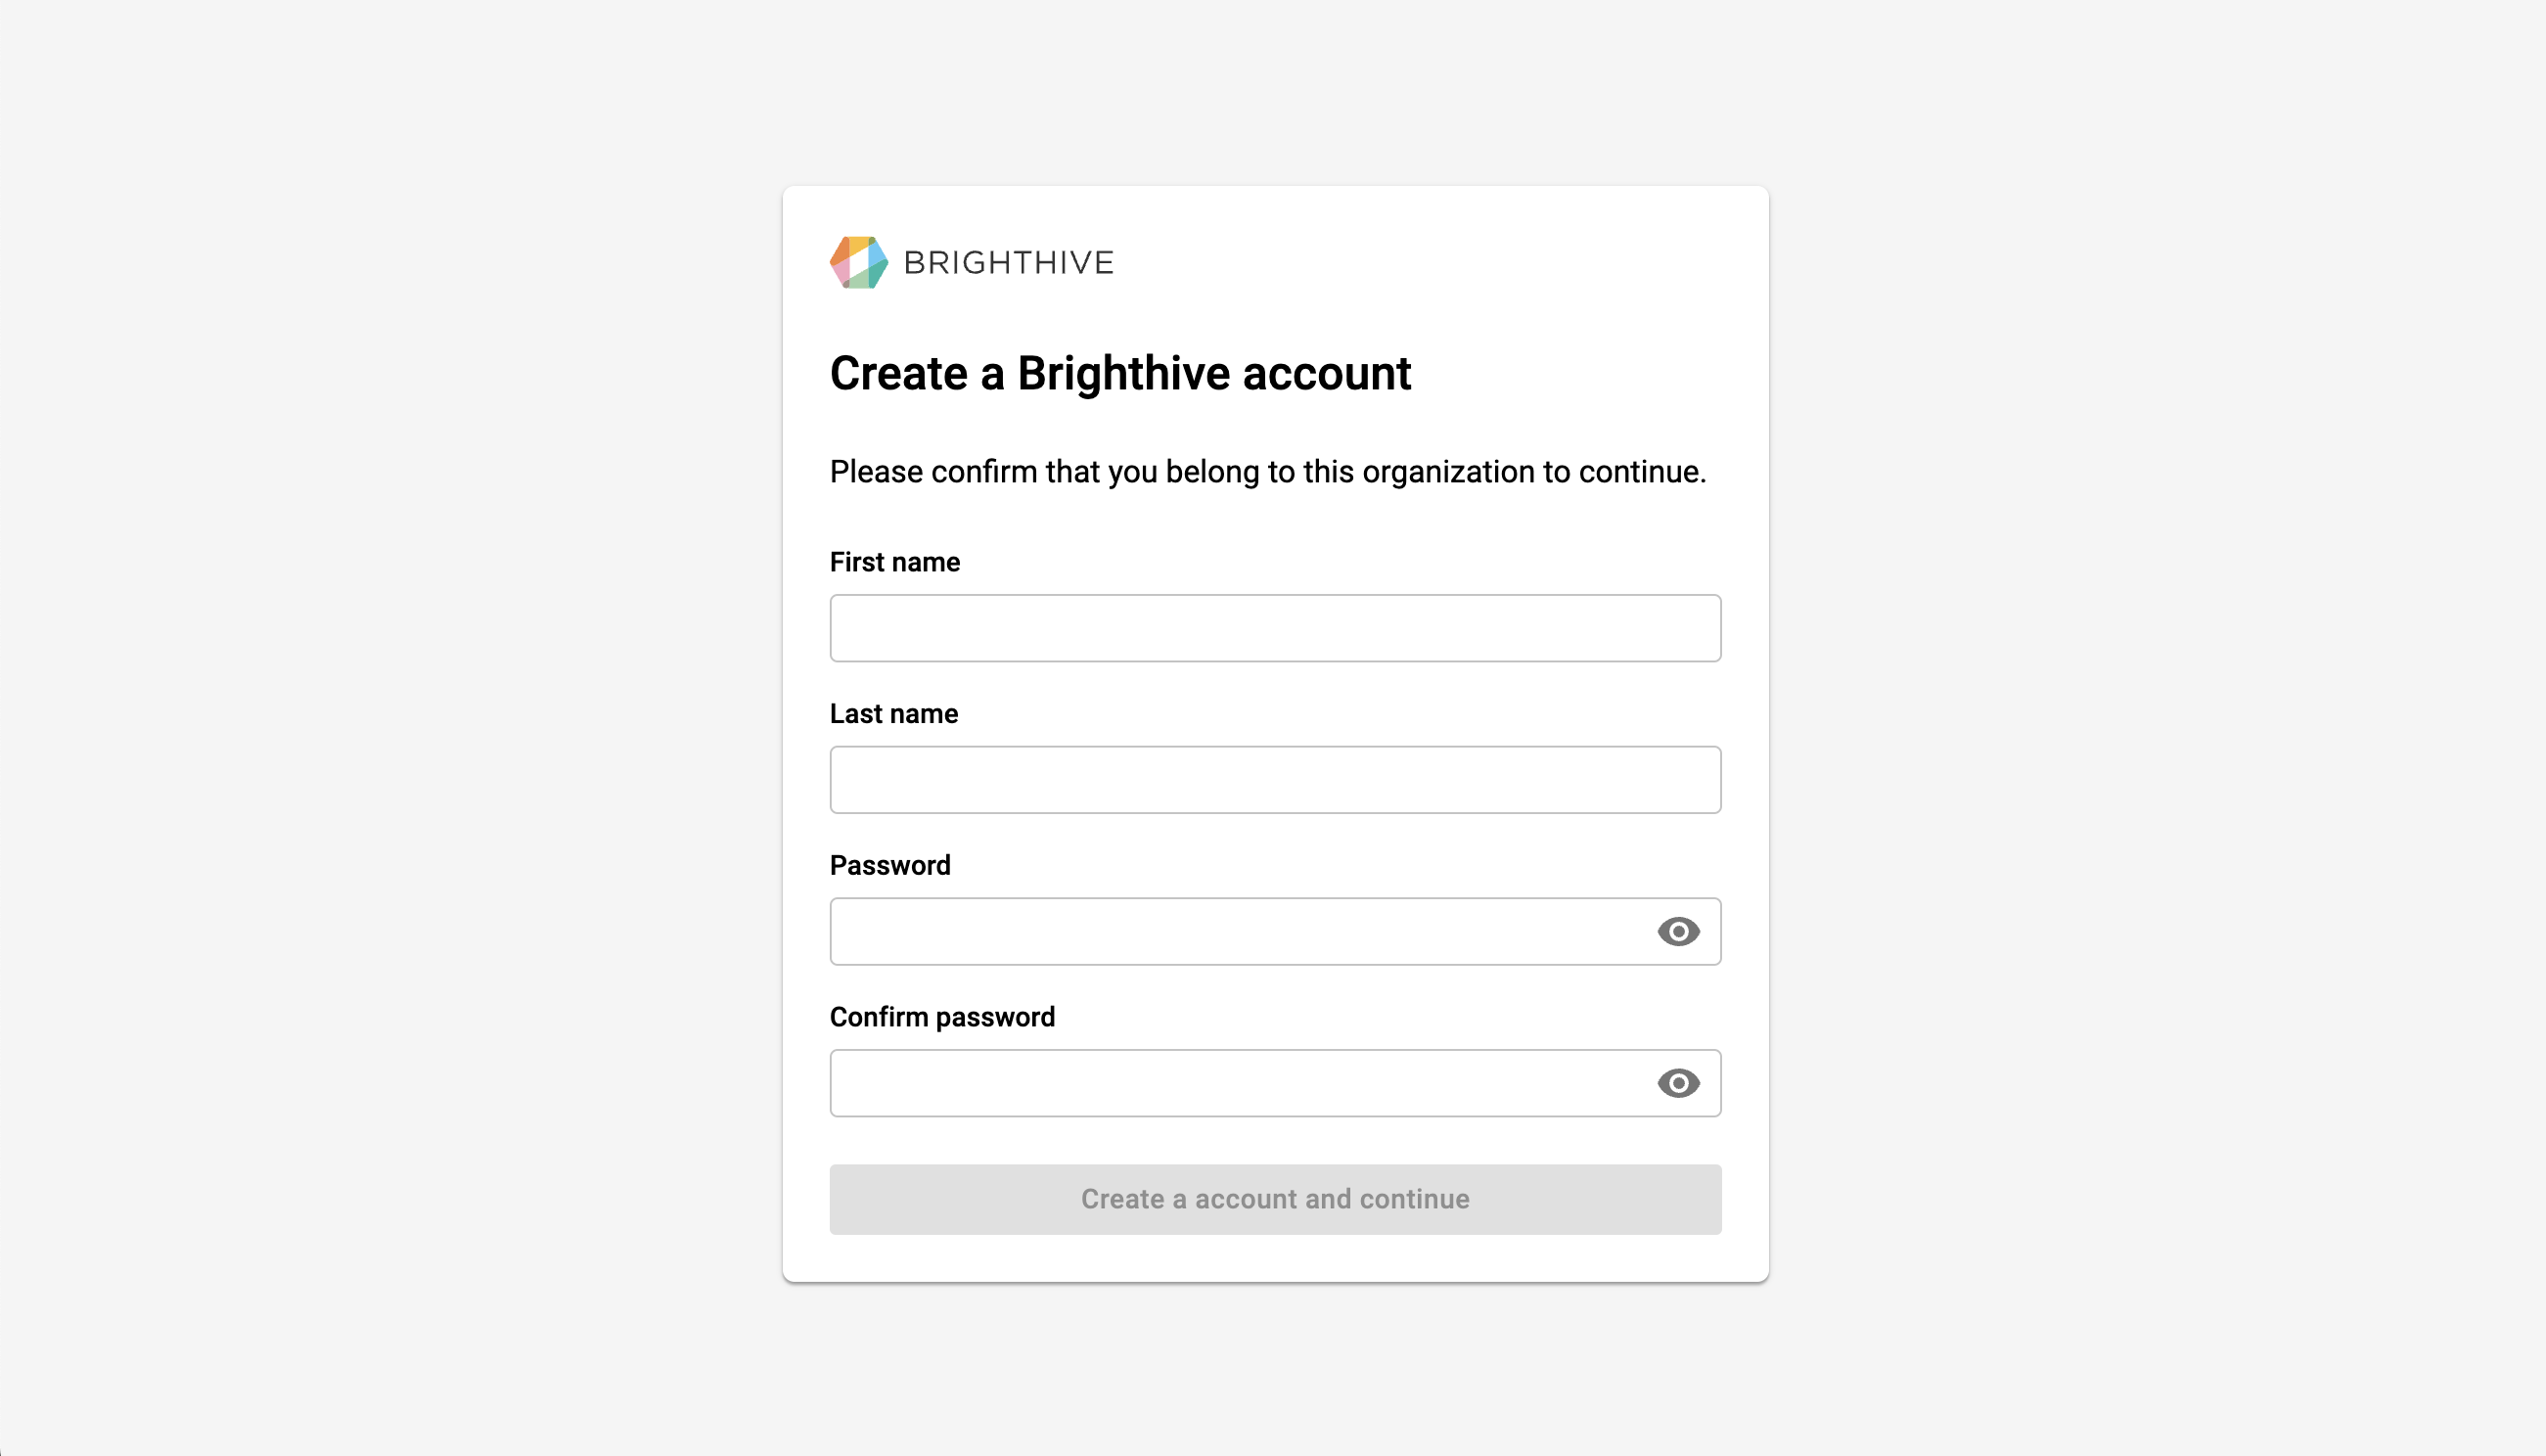
Once you input your First Name, Last Name, and Password, select "Create account and continue".
Next, you will be able to review and accept the active Workspace Governance Policies, which detail data privacy and security standards for the workspace. Select "Agree and continue".
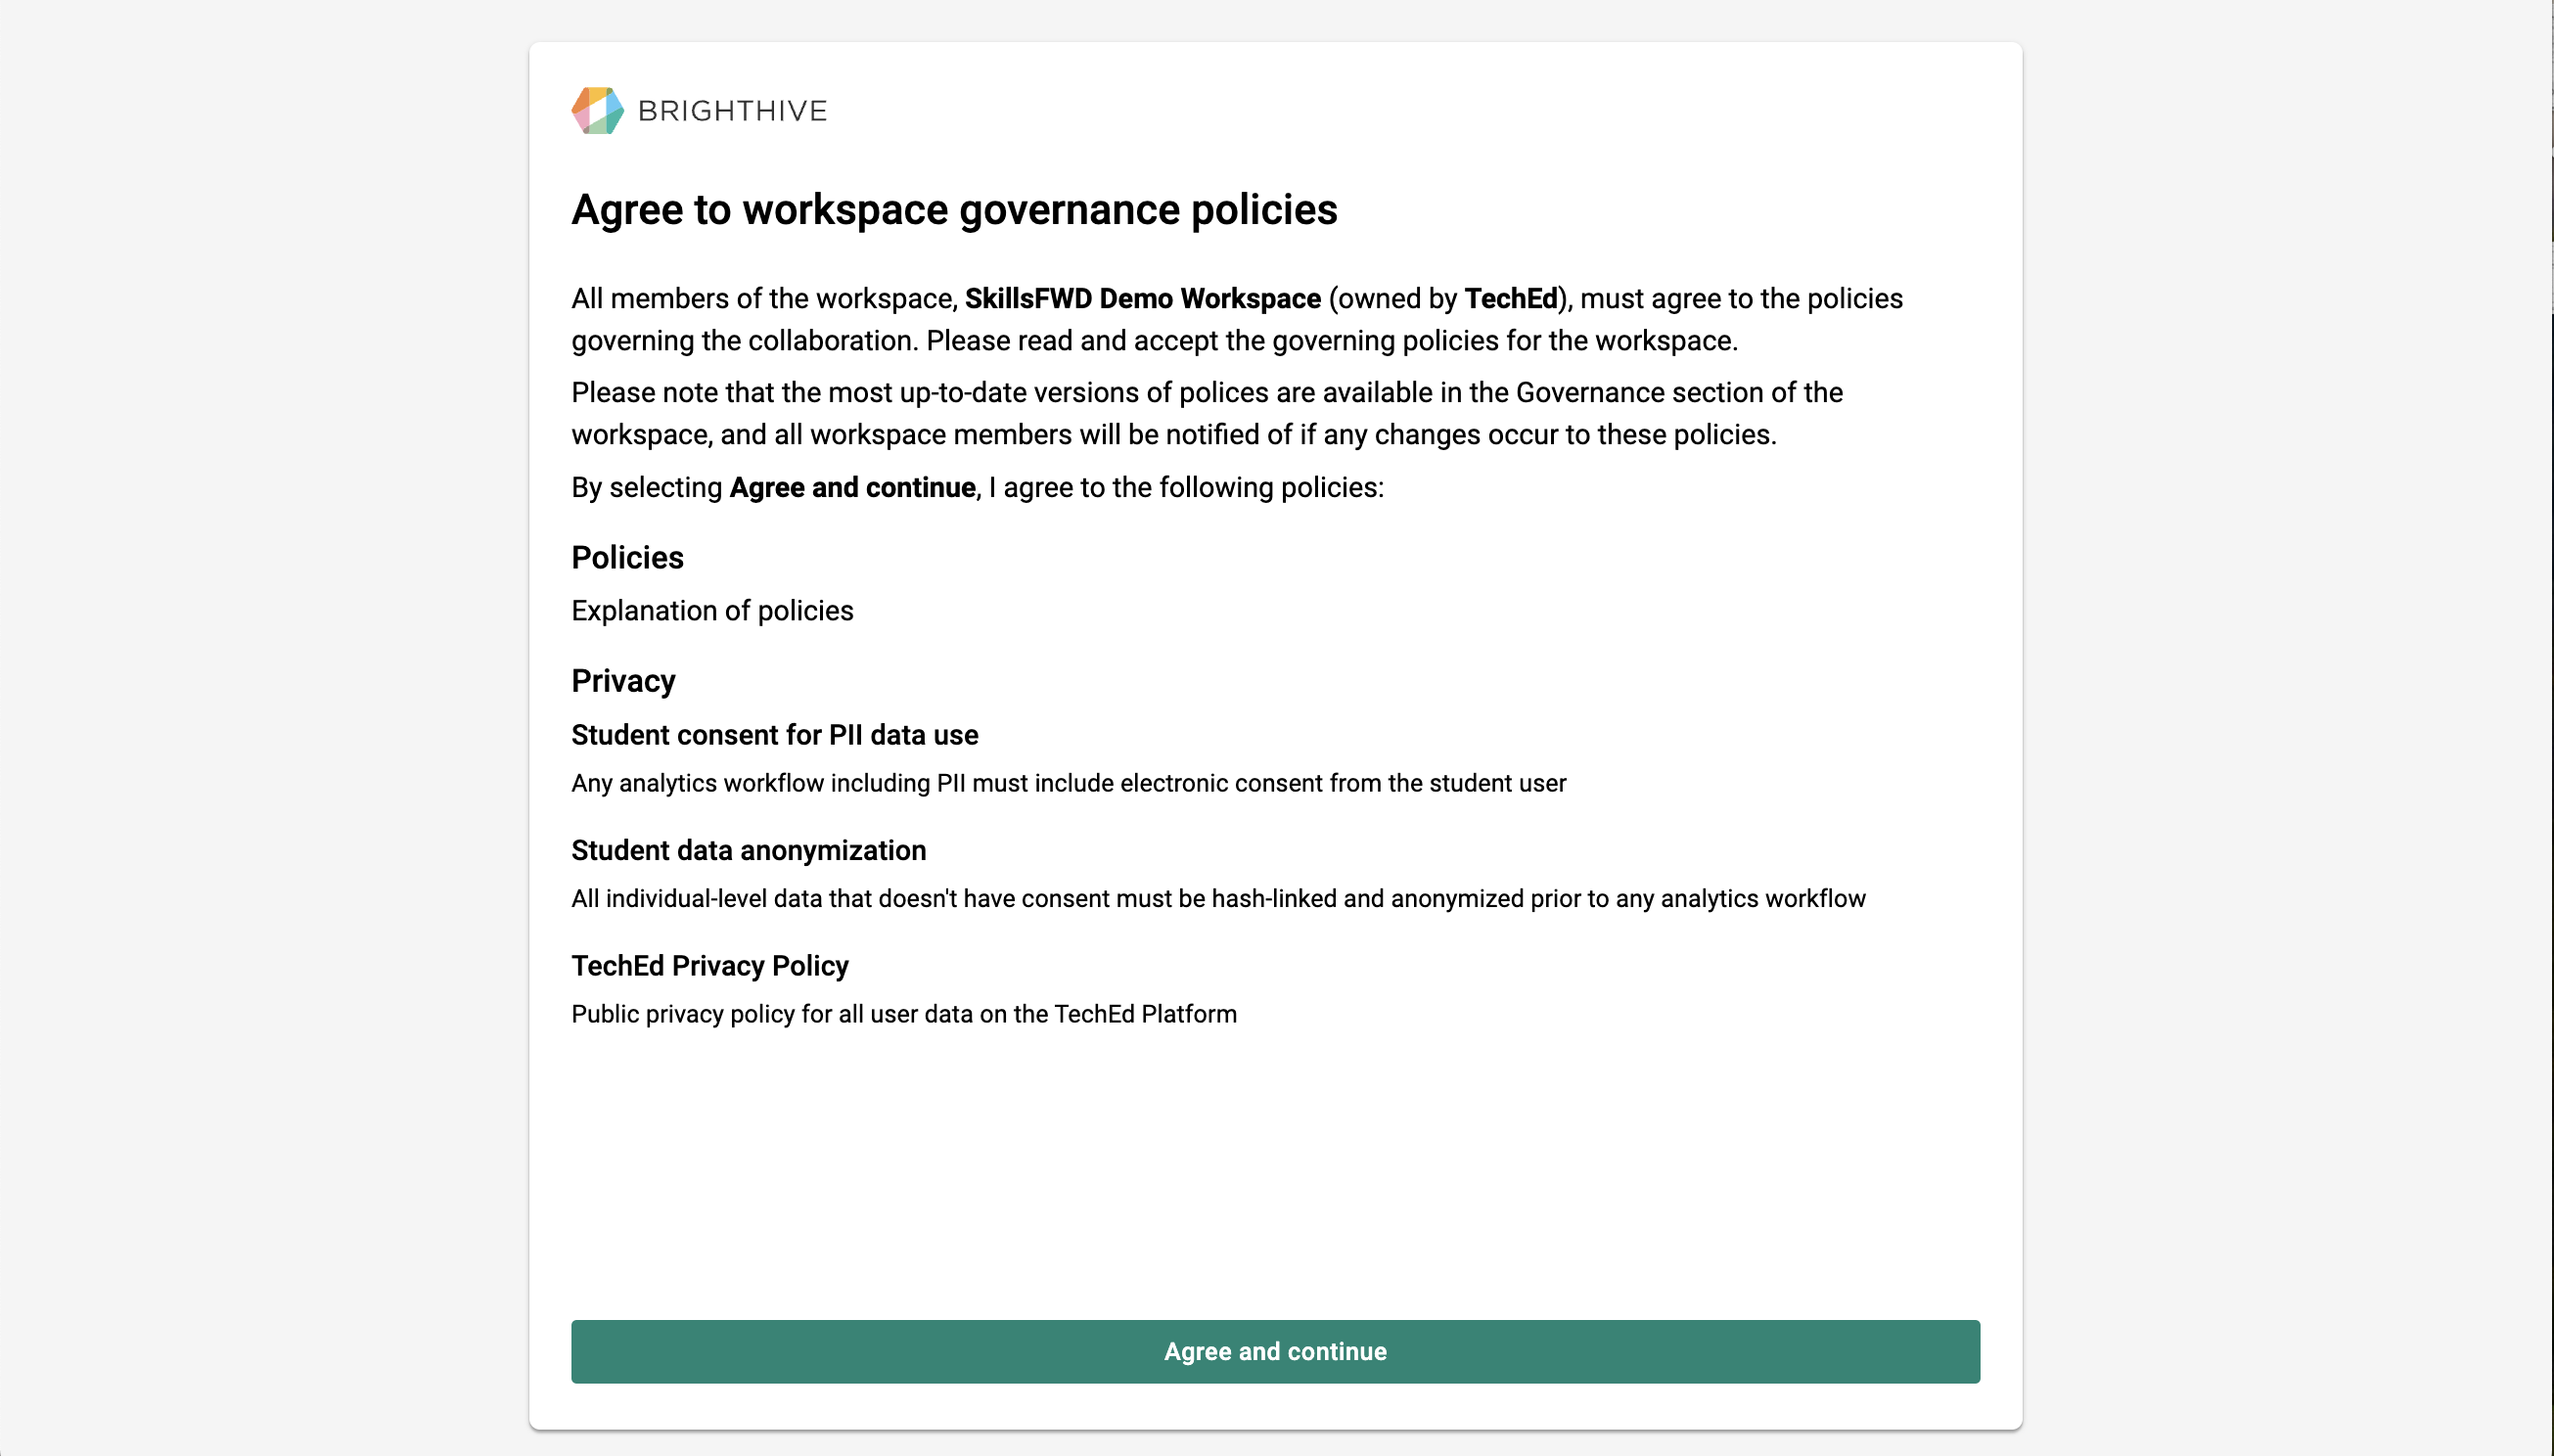
Congrats! You’ve logged into your Brighthive workspace. Once your account is created, your Workspace Admin will be able to add you to a Project to start the data upload process.